

Although this blog will be temporarily turning into a travel blog, I have plans to squeeze in a few more recipes before the plane takes off. I have a month to do almost nothing, and so far I have turned to cooking to keep me occupied. I made a delicious Penne with Mushroom Marinara dish just the other night (although I replaced the chicken with Italian Saugage, yum). And these Tangerine Cupcakes have been marinating in my brain for a couple of days now. And last night I went ahead (at the urging of my boyfriend) and made some imitation Oreo Cookies!
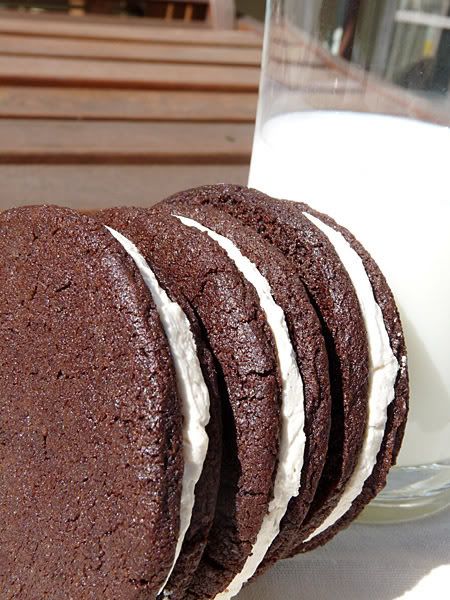
They were fun to make once I got past the butter dilemma, which I will detail for ya'll in the notes section. I made mine nice and big - mainly because I didn't have any small cookie cutters. Actually, I didn't have any cookie cutter and had to use the opening of a wine-glass. It worked out pretty darn well though. And now I can make my own, much healthier Oreo (at least in regards to the trans-fat issue - they're still dripping with calories).
Notes
- I suggest using an actual stick of butter with Tbsp markings on it. I thought I would be able to just measure out spoonfuls of soft butter in a regular tablespoon, but that left me with a very dry bowl of cookie mix. I ended up adding more butter until it looked right. And "right" was when the mixture mostly stuck to itself while mixing, and I could easily pack it into a greasy little ball in my hand.
- I didn't have any shortening for the cream filling so I just used butter. All butter and no shortening still makes a good cream filling. I also added the powdered sugar bit by bit until it was the consistency that I wanted.
- I suggest actually using an electric mixer to mix the filling. I mixed by hand at first and was disappointed at how flat and dense it was. After a couple minutes of beating with the mixer it was a bi lighter and fluffier. Not a huge difference, but enough that it was worth it to me.
- Shaping the cookies: I did not use a rolling pin. Instead, I took one handful at a time and pressed it to between 1/8 - 1/4" on a sheet of tin foil (make sure your tin foil is sized to fit on your baking sheet). Then I took my make-shift cookie cutter (ie: wine glass) and pressed it in, twisting a few times to break through those pesky sugar crystals. Peel back the remaining dough and use it for your next cookie. Once your tin foil is full of cookies, slide it onto your baking tray and just cook them right there on the foil. Easy transfer and easy clean up.
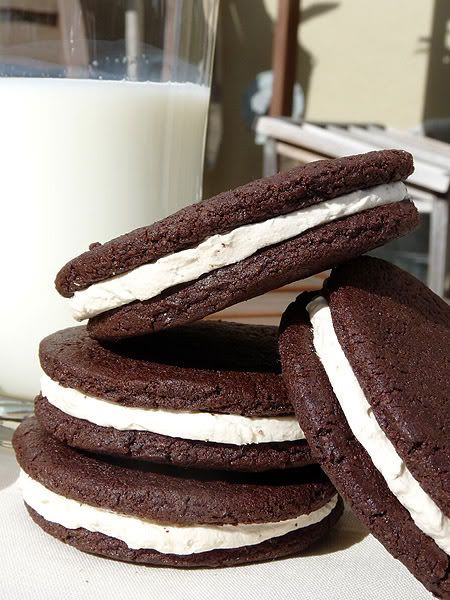
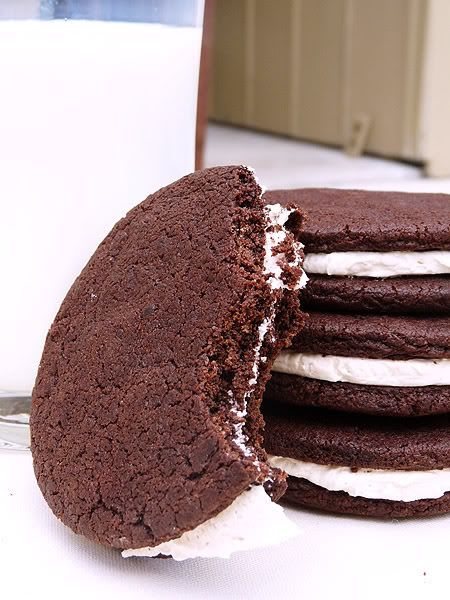
I personally thought they were great! I mean, they don't taste exactly like an actual Oreo, but if you want a chocolate, cream-filled cookie they hit the spot. And it feels so much better to eat a homemade cookie than those preservative-filled ones at the store. Mr. C says "Delish." He actually fought me for the last bite of one we shared last night... And Mom highly approves. She even took one to work to have with her lunch today. So yes, an overall success!!
I found the recipe at the incredible Cupcake Project (who got it from Heaven is Chocolate, Cheese, and Carbs, who got it from Smitten Kitchen, who got it from a book called Retro Desserts). Phew:
Ingredients
Cookie:
- 1 1/4 cup all-purpose flour
- 1/2 cup unsweetened cocoa powder
- 1 tsp baking soda
- 1/4 tsp baking powder
- 1/4 tsp salt
- 1 cup sugar
- 10 Tbsp butter, room temperature
- 1 large egg
- 1/4 cup unsalted butter, room temperature
- 1/4 cup vegetable shortening (I replaced this with more butter)
- 2 cups powdered sugar, sifted
- 2 tsp vanilla extract
Directions
- Dough: In a medium-sized bowl, mix the flour, cocoa, baking soda and powder, salt, and sugar.
- Beat in the butter and the egg. Continue mixing until dough comes together in a mass.
- Take rounded teaspoons of batter and place on a parchment paper-lined baking sheet approximately 2 inches apart. With moistened hands, slightly flatten the dough. (see the "Notes" for more tips!)
- Bake for 9 minutes at 375 F. Be sure not to over cook them! Set on a rack to cool.
- Cream Filling: Place butter and shortening in a mixing bowl, and at low speed, gradually beat in the sugar and vanilla. Turn the mixer on high and beat for 2-3 minutes until filling is light and fluffy.
- To make a cookie, pipe teaspoon-sized blobs of cream into the center of a cookie using a pastry bag with a 1/2 inch round tip. (or, if you're like me just plop a blob of filling in the center of a cookie). Place another cookie, equal in size to the first, on top of the cream. Lightly press (I found spinning to be helpful too), to work the filling evenly to the outsides of the cookie. Continue this process until all the cookies have been sandwiched with cream.

No comments:
Post a Comment